How to Measure for a Bathroom Suite: A Step-by-Step Guide
Are you on a mission to give your bathroom a mini facelift? Or are you working on a bathroom renovation project starting from scratch? Either way, one of the most important decisions you’ll need to make is choosing the right bathroom suite. But how do you make sure it’s the perfect fit for your space? The truth is, measuring for the correct size can be tricky and intimidating.
But if you’re considering a bathroom suite upgrade, never fear – you’ve come to the right place! In this blog post, we’ll be giving you a detailed step-by-step guide on how to measure for a bathroom suite (so you can guarantee it’ll look fabulous in your space). Read on for all the tips and tricks you need, and get ready to bid farewell to all your bathroom woes.
Quick Explanation of Key Question
Accurately measuring your bathroom space is essential when selecting a new bathroom suite. Measure the length, width, height and ideally take the measurements in three dimensions with items such as a ruler, tape measure and levels.
Preparing to Measure a Bathroom Suite
Before you measure for a new bathroom suite, it is important to consider and evaluate the space that it will be going into. Accurately assessing the size, shape and spacing of a room before taking any measurements will give you a better idea of how to approach this task. After gaining an understanding of the room, it is time to prepare your tools and supplies so you can take accurate measurements.
Proper Measuring Tools
Using the right tools for the job will help ensure that your measurements are accurate and precise. Using old-fashioned measuring tapes can leave some discrepancies in measurements, potentially creating obstacles when trying to purchase or install a bathroom suite. Instead, you should use special laser measuring devices that measure exact distances which eliminate guesswork. Additionally, these devices allow you to save your data so that you can have records of all your measurements in one place.
Organising Your Data
Once you have gathered all your measurements, it is important to find an organized way to store them. Having easy access to all your measurements will save time when selecting components for your bathroom suite. Digital storage options provide an efficient platform for keeping track of all your survey data, such as using shorthand labels or abbreviations alongside each measurement. This also allows designers and contractors to share their surveys with other professionals quickly and easily if needed.
Now that you are prepared with the right tools and know how to organize your data effectively, it is time to begin taking accurate dimensions of the room and understanding its size in preparation for selecting a bathroom suite. Understanding Your Room Size is the next step in balancing design with function while achieving a successful bathroom remodel project.
Understanding Your Room Size
Understand your room size before selecting a new bathroom suite. Start by measuring the length and width of the room to determine the total floor space available. If you have an existing bathroom, measure the length and width of all fixed furniture such as the toilet, bathtub, and sink. Subtract these measurements from the total floor space to get an idea of how much room is available for additional furniture.
Next, consider whether there are any doorways or windows in the space. To ensure comfortable access to these features and optimise for safety, make sure that each has at least two feet of clearance on either side. Additionally, measure the height from the floor to the ceiling to help you select appropriate items that will fit in the space.
Take note of anything that could restrict the installation of your desired bathroom suite such as pipe routing or joist placements. Consult with a licensed plumber or contractor if you need help with this task. They can advise you on any structural work that may be required to safely install your new bathroom set.
Finally, sketch out your dimensions on graph paper to get an approximate visual representation of your bathroom’s layout and size limitations. This can help you more accurately gauge what parts can be installed in the space and mobilise accordingly before selecting your new suite.
Understanding your room size is an important step in effectively measuring for a bathroom suite. With this information in hand, you can now move onto selecting your new suite that perfectly fits within your desired aesthetic framework and room dimensions.
- According to the American National Standards Institute (ANSI), a minimum of 1.5 feet of clearance should be allowed around fixtures in a bath or shower for maneuvering.
- It is recommended that people use a measuring tape when measuring for bathroom suites, as it provides more accuracy compared to other types of measurement tools.
- The most common size for tubs and showers is 60 inches by 30 inches, which helps provide an efficient use of space.
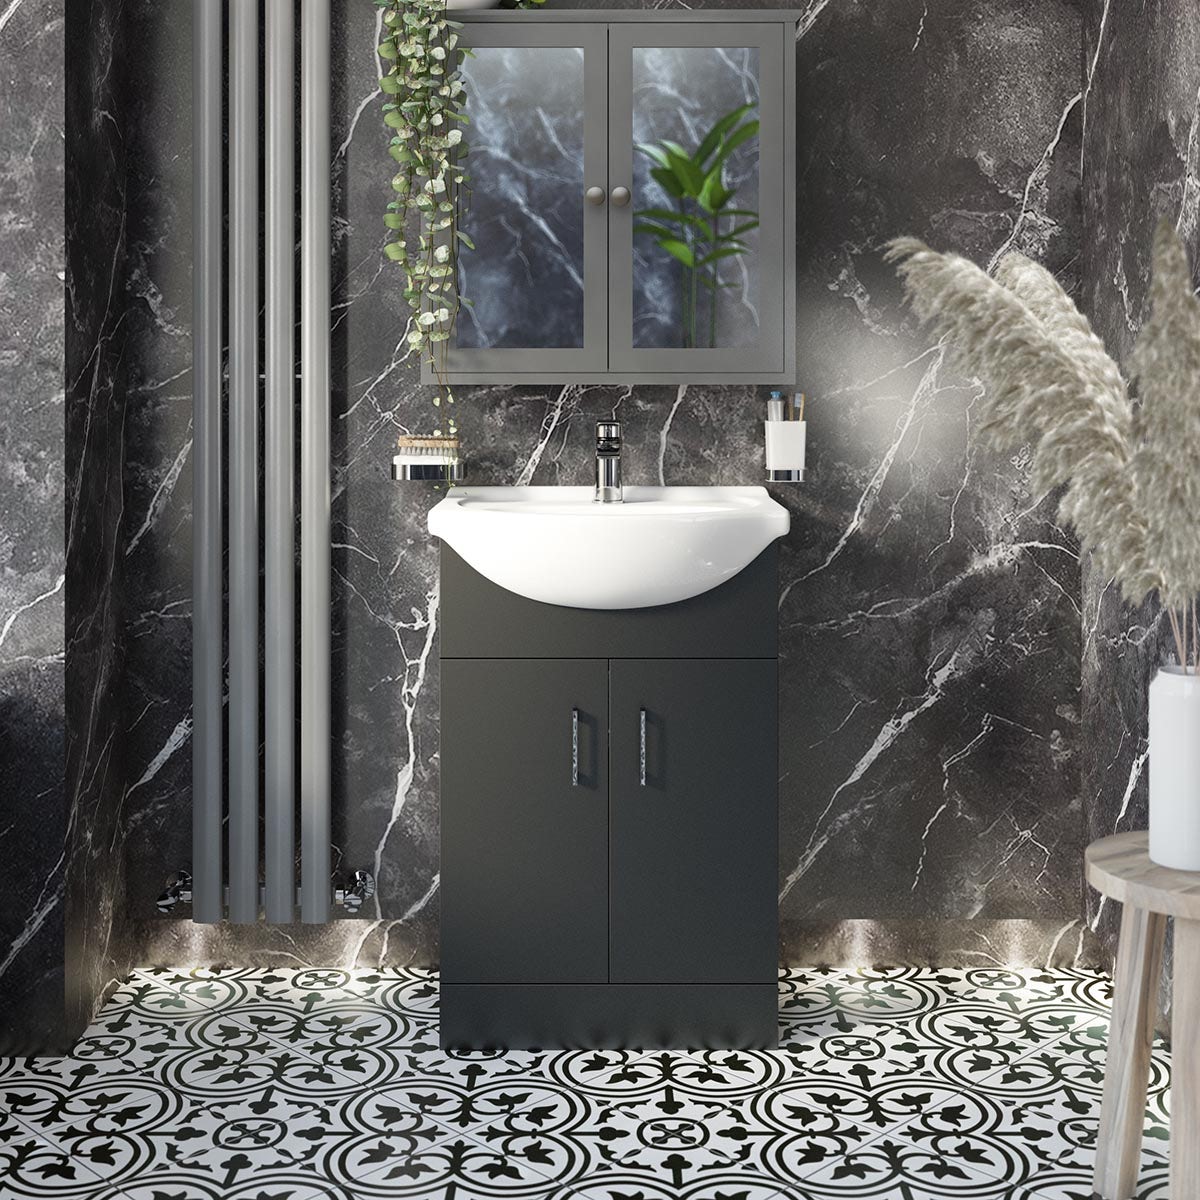
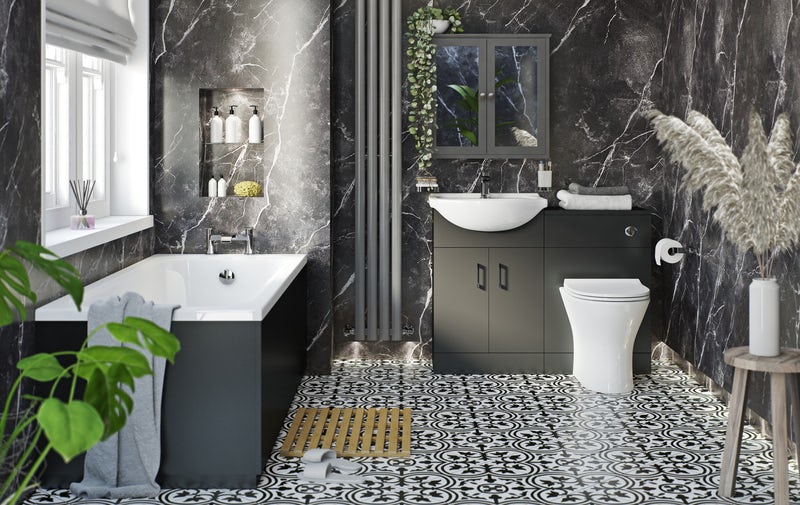
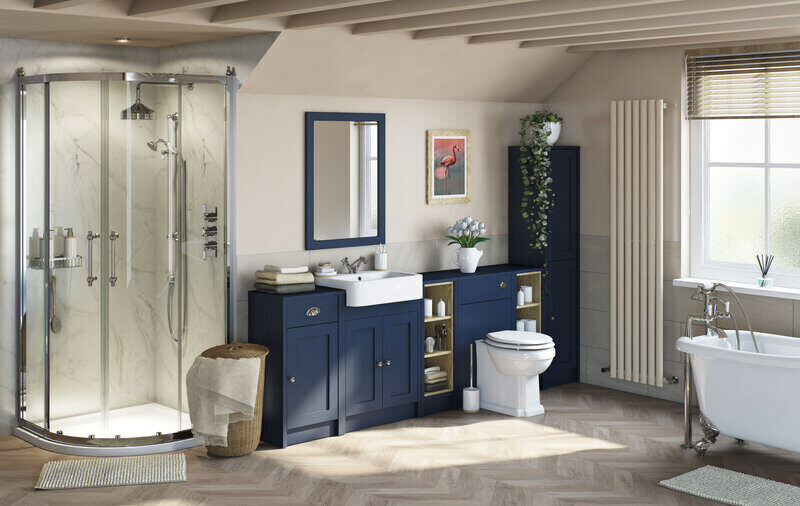
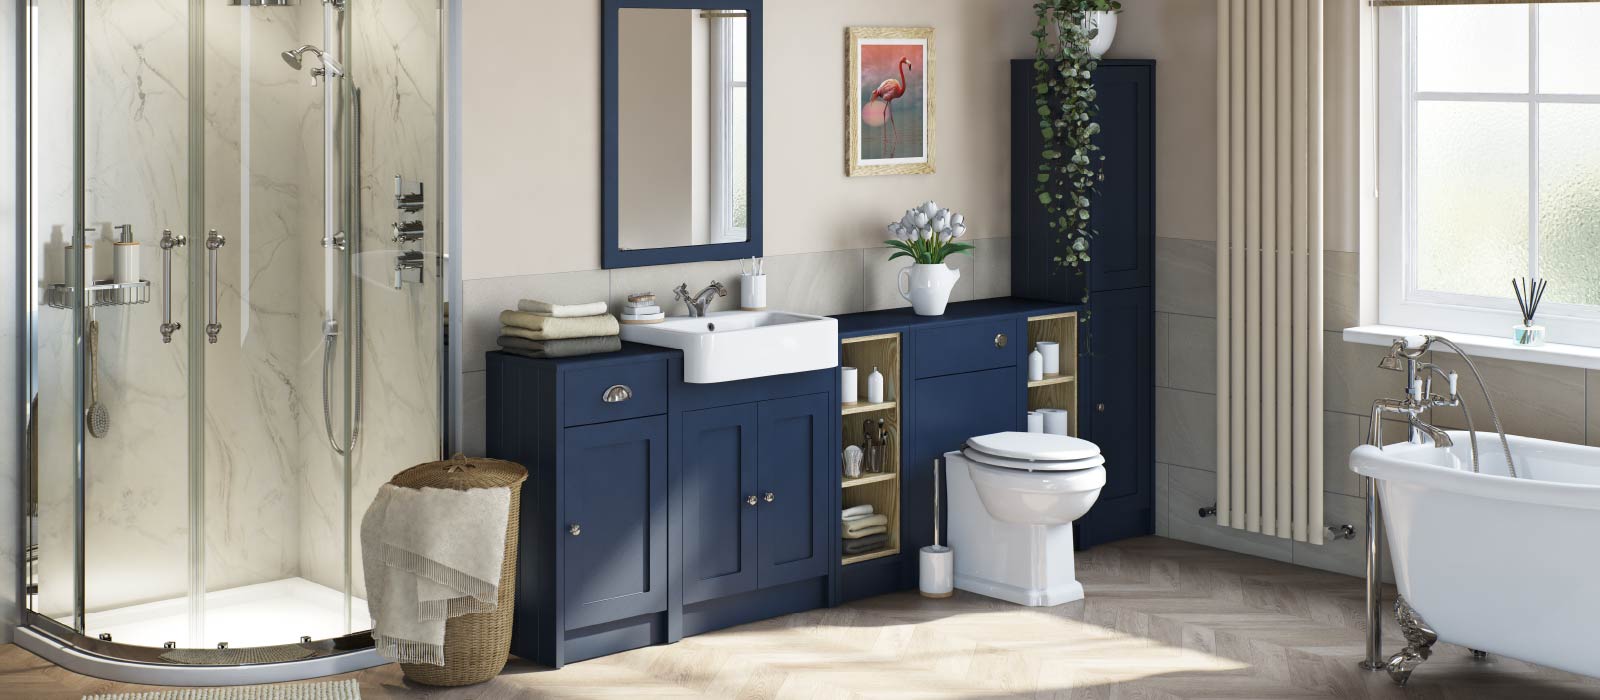
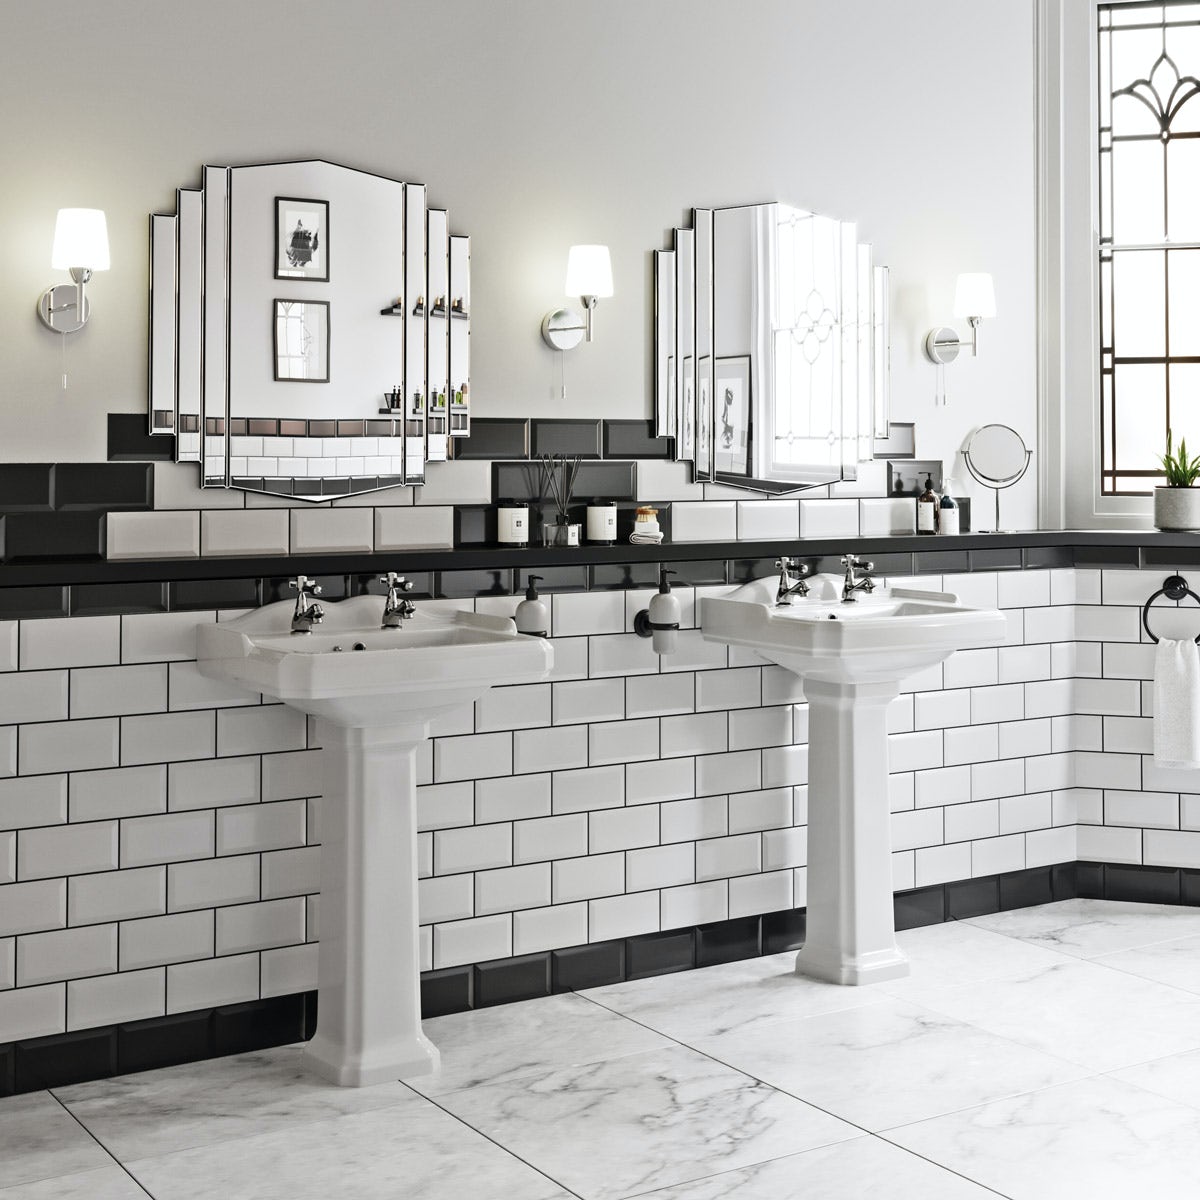
Selecting Your New Suite
Selecting the right bathroom suite for your home is an important decision that requires careful selection and consideration. There are a number of factors to consider such as the style, size, shape, material, price and other preferences. There are multiple types of suites from traditional to modern styles, so it’s important to have a preliminary idea of what you would like before you embark on the journey of picking out your dream suite.
When selecting your suite, it is important to keep in mind how much space you have available in your area and ensure that it will fit perfectly. There are many sizes and shapes available, but if you select something too big or too small then it could affect the overall look and balance of your room. In addition, you want to make sure that all the components in your set match each other aesthetically so that it looks harmonious. This could include the taps, bath tub, toilet bowl, shower head and any additional extras – everything should coordinate together.
When deciding on the finish for your suite there are a few things to consider such as quality and cost. As with anything else, higher quality tends to come at a higher price so budgeting may be necessary when making your purchase. With that being said it’s always nice to splurge a little bit every now and then if you can afford it – this way you know that you’re investing in a good product that will last for years.
Now that you’ve selected your new bathroom suite its time to start thinking about how to measure for it. The next section will provide helpful tips and advice on how best to measure for a basin – an essential component in any bathroom set-up.
Measuring for a Basin
When it comes to accurately measuring for a bathroom basin, professionals recommend taking precise measurements from the start. The three main measurements that need to be taken include width, depth and height—all of which have distinct effects on your new basin’s look and functionality.
Width: To achieve precise results when measuring for a basin’s width, measure the area within the unit’s frame. Wider basins often provide greater storage capacity, while thinner models can fit into smaller spaces. However, while narrower basins may work well in small bathrooms, they can seem too cramped if trying to accommodate two people at the same time. To arrive at an acceptable width, measure from one side of the cabinet to the other in order to determine what is suitable for your bathroom space.
Depth: Generally speaking, most basins will have a depth ranging anywhere from 17-19cm (approximately 6.5- 7.5 inches). Take your measurements so you are certain of how much usable space is available between the walls and the sides of the basin.
Height: Ultimately, considerations of both style and comfort come into play when determining the ideal height of a basin. Some personal preference should factor into this decision as well; though average standard heights usually fall between 85-88 cm (33-34 inches), more space is desirable if there are two people who use the sink each day and want some room between them.
The importance these three measurements cannot be underestimated when choosing a new bathroom basin; ensuring that all specifications are accounted for will ensure function and form that works with your overall design scheme. In selecting the size and shape of your new basin, you will have plenty of options depending on your budget and desired aesthetic as well as tangible considerations including countertop/cabinet size parameters . Whether you go with something modern and minimalistic or something traditional with more pronounced shapes and contours, always consider all measurement points first before installation commences.
Once the appropriate width, depth and height for a new bathroom basin has been determined, attentions now turn to fitting cabinet height in order to complete its installation process.
Shower Enclosures
Measuring for Shower Enclosure is an important step in the installation process, as it helps to ensure that the enclosure will fit correctly and securely in the space. It is important to take precise measurements in order to ensure that the enclosure will fit properly and that it will be level. Consider which way the shower doors will open when planning your new bathroom.
Fitting Cabinet Height
When it comes to fitting cabinets, the right height is essential. Doing so will help ensure your bathroom fixtures and furniture match up correctly, provide a neat and tidy look, and create a sense of balance in the space. The standard height for bathroom cabinet installation is about 33 inches (84 centimeters). This gives you enough room to put necessities such as soap and toilet paper on top. It also prevents you from having to bend over too much when reaching for items inside the cabinet.
If you’re struggling to get an exact measurement, consider installing cabinets at least four inches (10 centimetres) lower than the ceiling height to allow for some breathing room and making sure there’s enough clearance for the doors to open. Alternatively, if you have tall ceilings, you could go with higher cabinets – this could provide more space for storing items, however make sure it still looks proportional in the space.
At the same time, bear in mind that while putting in cabinets of different heights can add dimension and texture to your bathroom scheme, it can also end up looking lopsided or disjointed if not done carefully. So take your time when deciding on what works best for your space – and don’t be afraid to mix things up!
Once you’ve settled on the ideal cabinet height, it’s time to move onto measuring for a toilet – an equally important factor that should never be overlooked.
Top Summary Points
When installing cabinets in a bathroom, the standard height is 33 inches (84 centimeters), although it can be adjusted for different types of ceilings or for desired visual appeal. The cabinets should be at least four inches (10 centimeters) lower than the ceiling height to allow for breathing room and space for the doors to open. Mixing up heights can add dimension and texture, but it can also look disjointed if done incorrectly. After cabinet height is settled upon, don’t forget to measure for the toilet which is an equally important factor.
Measuring for a Toilet
The most important aspect of measuring for a new toilet is to ensure that the bowl fits snugly against the wall and floor, and that there is adequate room around it for comfortable use. When measuring for a toilet, you will need to know the width, height, and depth of your current model.
Begin by measuring the overall width of your current toilet, from one side of the seat to the other. This measurement should include any capping found between the seat and back. Make sure to measure in millimeters or inches, depending on what units are used in your area. The standard width ranges from 365 mm (14.5 inches) to 460 mm (18 inches).
Next, measure the height of your current toilet from the floor up to the highest point on the seat or lid. The average height for a variety of models ranges from 400 mm (15.5 inches) to 540 mm (21 inches). Be aware that toilets can come in different heights, so double-check with the manufacturer which height best suits your needs before you buy.
Finally measure your current toilet’s depth from its furthest point at the front to its furthest point at the back. Standard depth measurements range between 600mm – 630mm (23 – 24 inches), although some luxury models range up to 725 mm (28 inches).
It is recommended that you make a sketch or diagram of all measurements taken before purchasing a new toilet model. This will help manufacturers provide you with an accurate estimate of what size toilet would best suit your bathroom space prior to ordering one.
Keep in mind that certain regulations may be in place regarding toilet size within certain areas- make sure to check before making any purchases. With this information in hand and properly measured dimensions, you can ensure that you choose a toilet suitable for your bathroom’s size and specifications.
Now that you’ve measured for a toilet, it’s time to move on to measuring for a bath and/or shower- both are essential components in any bathroom suite installation!
Measuring for a Bath and/or Shower
Measuring for a Bath and/or Shower is one of the most essential steps when considering installing a new bathroom suite. The size limitations of your bathroom or shower space, as well as the overall style of your home should determine what type of bath and/or shower you decide to install.
Before beginning, it’s important to note the different styles available and the pros and cons of each. A traditional corner bath usually provides more surface area in comparison to a freestanding tub, but it is also necessary to have adequate space around it, especially on the outside walls, so that you can install accessories, such as piping and plumbing fixtures. On the other hand, a freestanding bath offers many design benefits – they usually require less installation time and cost less than traditional options – although their shape and size may limit your mobility within the room.
Showers are typically a more straightforward project than baths, as there are fewer features to consider. However, if you choose an over-bath shower there are several factors to take into account if the unit is to fit correctly: ensure there is enough space for a shower curtain or glass door panel; measure for an appropriate sized tray that fits neatly beneath the bathers’ feet; also be aware of any obstructions in the pipework route from the water supply.
Whatever combination you opt for – bath and/or shower – careful measuring is recommended so that everything fits snugly within its designated space. Additionally, when planning any type of installation project with tiles or natural stone surfaces always add an extra 10-20% onto your total measurements to make sure you have enough materials on hand during installation.
Finally, once you have accurately measured for your bath and/or shower it’s time to move onto considering some important Installation Considerations that will help ensure a successful end result.
Bathroom Inspiration
Bathroom Inspiration is a great place to start when it comes to designing the perfect bathroom. It is important to think about the overall design of the bathroom and how it will fit into the overall aesthetic of the home. Look for an example bathroom you like on places like Pinterest or Instagram and start from there. Take the elements you like and make it your own.
Bathroom Design
Once you have got your inspiration, then bathroom design skills are needed to make sure your ideas come to live. During the design phase, think about things like shower trays, where do they need to be located, and where are the shower values. If you can leave them in the current location, this will save you money and time.
A good starting point would be the shower enclosure or bath. If you have got a cast iron or steel bath it is going to be difficult to move around, not impossible, but will push up the costs.
A well-drawn floor plan with details like mirrors, shower valves, and doors will make this so much easier. Take accurate measurements, in fact measure everything twice to be certain.
Installation Considerations
Installing a new bathroom suite can be daunting. There are a lot of factors to consider, especially if you plan on doing the work yourself. Before you begin, it is important to assess the space and understand all of the necessary elements, including plumbing, ventilation, installation techniques, and simply having enough time and patience to complete the project.
Plumbing: If no existing plumbing lines are present in the room, then you will need to install them from scratch in order to get your new unit up and running. Alternatively, you may be able to repurpose existing plumbing lines by making minor changes or adjustments. Carefully review where each line needs to go and confirm that each one fits properly before proceeding with your installation.
Ventilation: Increasing airflow in a bathroom is vital for avoiding condensation buildup and water damage over time. An extractor fan should be part of the installation if there isn’t one already installed in the room. Make sure that the fan is connected to an external vent in order to best circulate air outside of the home.
Installation Techniques: Installing a new bathroom suite correctly is key to avoiding moisture penetration, mold growth, and dangerous electrical hazards. Take into account all faucets, traps, fixtures, and outlets when determining the layout of the unit. Make sure each connection point adheres correctly so that there is no water leakage or unsafe wiring. Additionally, seal all seams and gaps around tubs, sinks and toilets with waterproof caulking material.
Time: Lastly, ensuring that you have enough time set aside for this project is essential as well. Taking your time while installing will increase chances of success while preventing any potential errors that could result from rushing or being careless with the process. Investing sufficient resources – both in terms of budget money spent as well as time invested – will guarantee that you have a safe and thoroughly functioning bathroom suite once it’s finished.
Answers to Frequently Asked Questions with Explanations
What measurements do I need to take when fitting a bathroom suite?
When fitting a bathroom suite, the first step is to measure the space where you plan to install it. You will need to measure the length and width of the room, as well as the distance from any walls or other fixtures that could be affected by the installation of your suite. Additionally, you should measure for height clearance for both the toilet and shower cubicle, as well as any access considerations such as door openings or other obstructions. Finally, take measurements for specific fixtures such as toilets and vanity units. The measurements you will need are specifically dependant on the space available in your bathroom so make sure you double check all dimensions before purchasing your bathroom suite and accessories.
Are there any specific measurements I need to take into account when selecting a bath?
Yes, there are several key measurements you need to take into account when selecting a bathtub. The most important measurement is the size of the alcove (or space) in which the bathtub is to be placed. You also need to measure the length, width and depth of the alcove, as this will determine the size of bathtub suitable. You should also consider any additional space or clearance requirements depending on the style of bathtub you select, such as how far away a showerhead needs to be installed or if corner tubs will require additional side wall space. Finally, it’s important to check that your bathroom door is wide enough to fit through with a completed bathtub installed. Following these simple steps will help ensure you purchase the perfect bathtub for your bathroom suite.
What guidelines should I follow when measuring for a shower cubicle?
When measuring for a shower cubicle, it’s important to make sure you have the right measurements before selecting your ideal shower cubicle. Here are some guidelines to keep in mind when taking your measurements:
1. Measure the available space in the room. Make sure you measure the walls that will be adjacent to the shower cubicle – this includes area above and below the cubicle, including skirting boards or wall tiles.
2. Measure the ceiling height to determine how much headroom is available for taller users like yourself.
3. After measuring all of the areas, add a few more inches for overflow – this will prevent any construction issues later on.
4. Choose a shower cubicle that can comfortably fit inside the available space and consider additional features such as drainage systems and waterproofing materials.
By following these simple steps and taking accurate measurements, you can ensure that your new shower cubicle will fit perfectly into its allotted space – making it not only look beautiful, but also ensuring its long-term durability!